
Ultimate Guide to Using Icons in Figma
.png)
Icons are a foundational part of any design system. They're tiny, language-independent, symbols that help us understand and navigate digital products. Each one acts as a small building block to create bigger, more complex components. In this article, we'll go over how to set up your icons, use them in designs, and hand them off for development.
👀 Master using Icons in Figma with our free Input UI Kit or Button UI Kit. These freebies apply best practices from this article and get you up and running fast.
Before we get started, let's go over the different types of icons.
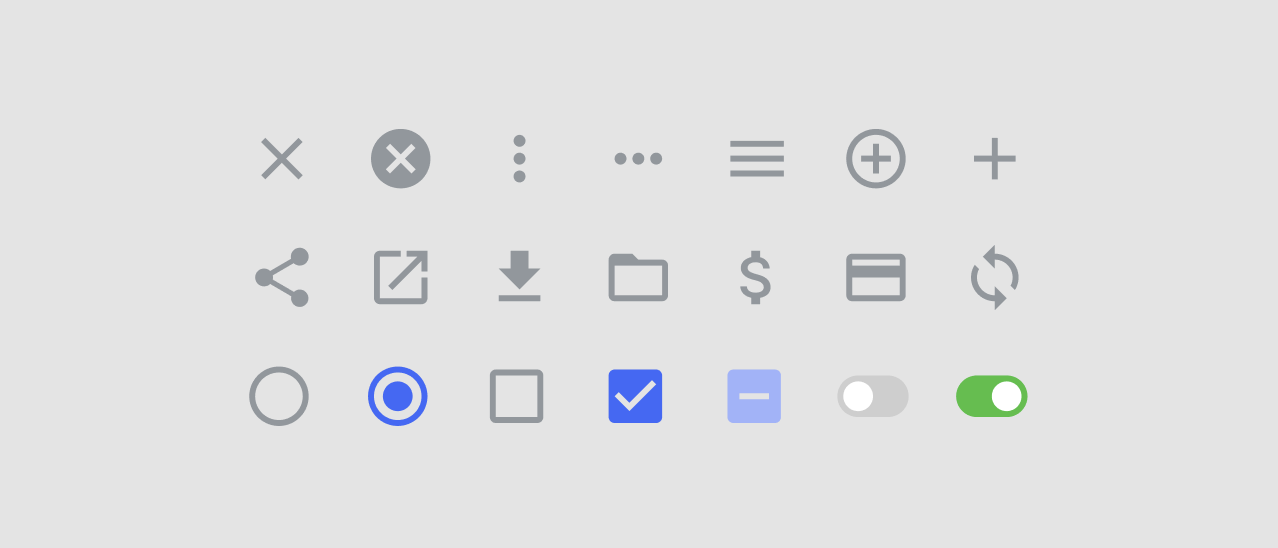
Actionable icons: These icons are clickable and can trigger an action. They can open something, close something, or navigate the user to a new location.
Informational icons: These icons are not clickable. They describe or highlight information the user needs to know. They can replace text, add emphasis, or make a design more accessible.

Setting up icons
Create an organized, consistent set of icons before you start designing any other components in your design system. This speeds up your workflow, makes your designs more consistent, and enables you to scale your website or product.
Choose an icon library
For most web projects, we recommend using a large, established icon library. Obscure icon libraries usually have a limited selection with no icon font support. And creating your own custom icons takes a LOT of time and skill to get right.
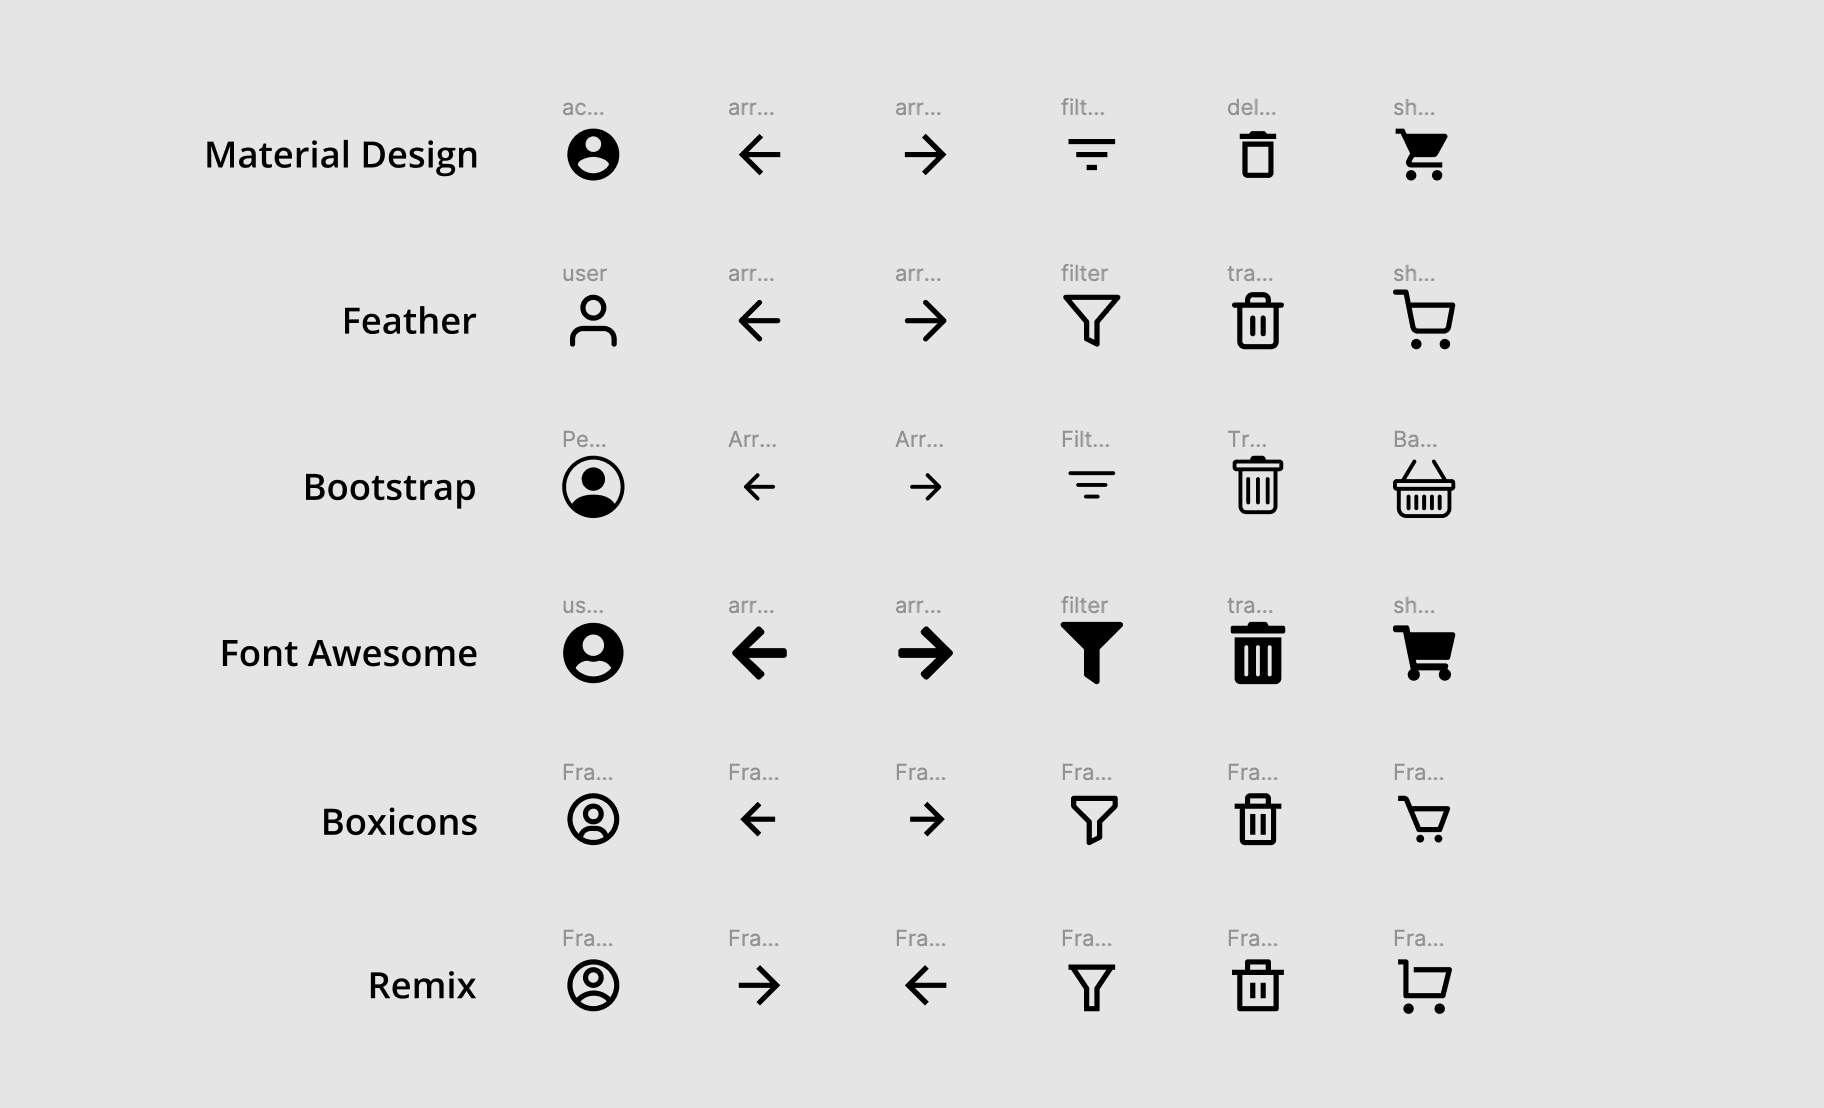
Here's a collection of established icon libraries with a large selection of SVG icons, multiple fill/stroke states, and font support. Choose one that best matches your brand.
- Material Design: Website, Plugin, Font
- Bootstrap: Website, Plugin, Font
- Font Awesome: Website, Plugin, Font
- Boxicons: Website, Plugin, Font
- Remix: Website, File, Font
- Feather: Website, Plugin, Font
Note: If you're up to the challenge of making custom icons, Figma is a great place for it! Even the icon pro's at Font Awesome prefer Figma to other vector drawing tools. But we still recommend icon libraries unless there's a clear design use-case for custom icons.
Add icons to your Figma file
Add icons from the library you've selected as SVG files. This allows you to edit the icon's vector color and size. Add the icons by downloading then dragging and dropping them into your file, or by selecting them in a plugin (most recommended).
a) Add downloaded icons
Download icons from the web onto your computer, then drag and drop them into your Figma file.
b) Add icons from a Figma plugin
Install an icon plugin, open the plugin in your file, then drag and drop the icon(s) into your file.
Customize icons
Customize icon size, color, and resizing behavior. This makes designing with your icons much faster because fewer overrides need to be made while designing. It also helps keep your designs consistent.
1) Size each icon
Once added, SVG icons will appear as a square frame with a vector inside. Resize each frame to match your default icon size. Choose a default icon size that is divisible by 4 or 8 so your icons will align with your base unit (e.g. 16x16, 20x20, 24x24).
Each frame should contain a small amount of internal padding on all sides (e.g. 2px). This ensures all icons appear evenly sized/spaced despite being different shapes. The same logic applies to adding more or less kerning around different type characters.
Pro tip: Use the plugin Icon Resizer to resize many icons at once.
2) Style each icon
Customize the fill color of every icon vector to match your branding. For example, update every icon from black to your default gray style. Also, update stateful icons to show their "active" color by default (e.g. radio buttons and checkboxes).
3) Set the resizing behavior
Set the constraints for every icon vector to "scale/scale" so it grows and shrinks along with the size of its frame. This way each icon can change size and maintain the perfect ratio between size and padding.
Turn into Main components
Turn every icon into a main component to use instances of them across your designs. This makes finding, adding, and swapping icons easier. It also makes bulk updates to your icons MUCH faster. For example, changing an icon's color. Edit the one main component rather than hunting down every icon in your designs.
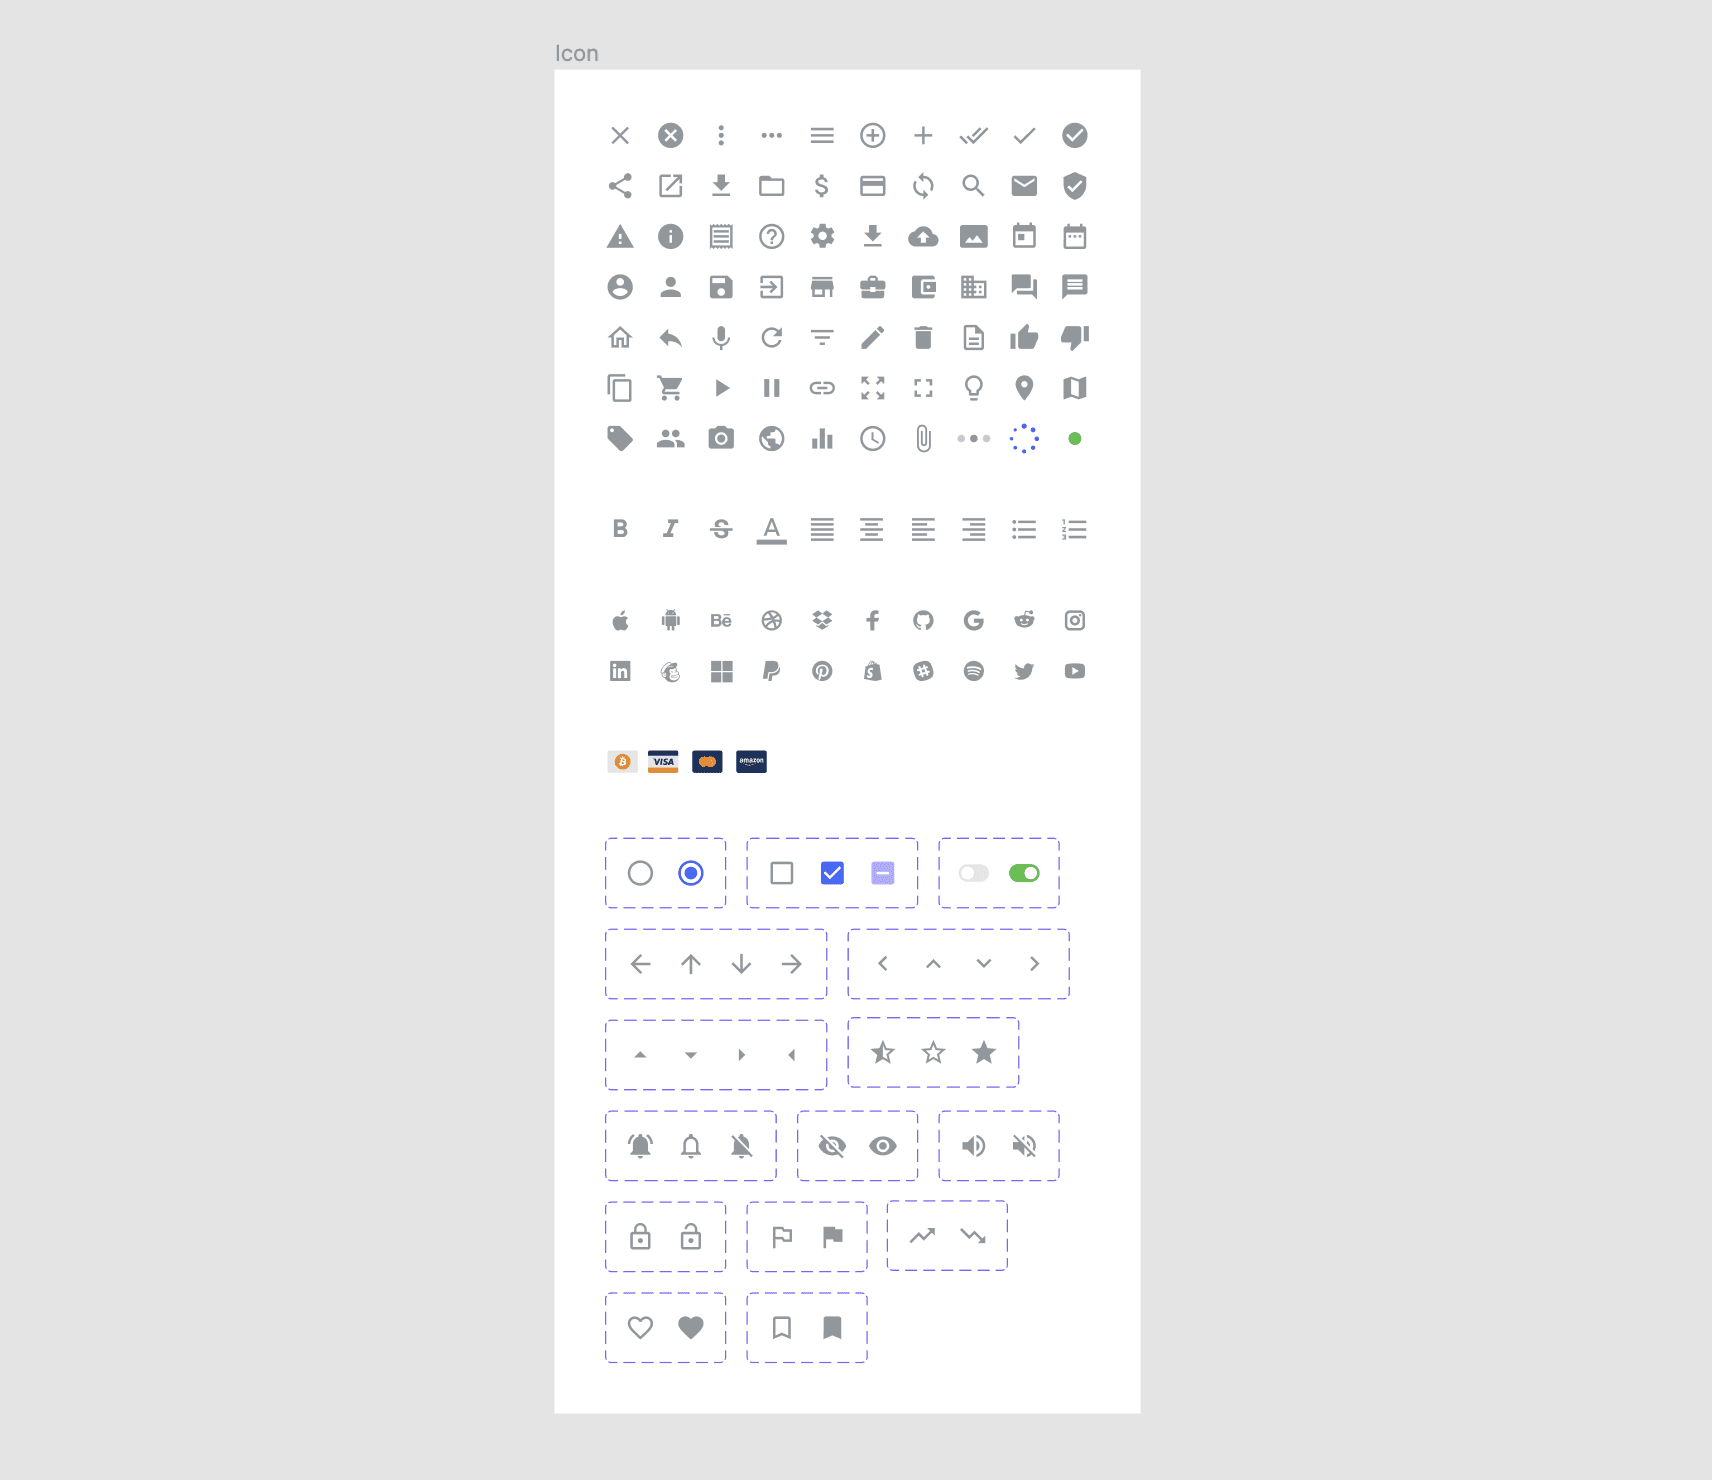
- Place all icons on a frame labeled "Icon". This adds organization to your file. It also adds the same nesting hierarchy in the Asset Panel as writing "Icon/" at the beginning of every name.
- Name each icon (e.g. "Close"). Use the forward slash ("/") naming method for categories of icons (e.g. "Format/Bold", "Format/Italic")
- Select all icons and click "create multiple components" in the toolbar.
Pro tip: Combine like icons as variants for faster instance swapping and the ability to use Interactive Components. This is only recommended for icons that are part of a set (ie. up/down/left/right arrows), or icons that will have hover/click prototype behaviors (e.g. radio buttons). Learn more about using variants here.
Using Icons
Once your icons have been set up you're ready to start using instances of them in your designs. They can be used as singular elements or nested inside larger components.
Add & swap icon instances
Instances are a copy of their main components. They can be found and added from the Asset Panel and swapped out in a number of different ways.
1) Add icon instance
Find the desired icon in the Asset Panel. From here, drag and drop an instance of it into your designs.
2) Swap icon
Drag and drop the new icon over the original icon while holding the "option" key. Any style/size overrides to the original icon will persist.

3) Swap nested icon
Select the nested icon, then choose a new icon in the Instance Menu. Any style/size overrides to the original icon persist.
4) Swap variant icon
Select the icon and update its type or state by choosing a different property value.
Apply overrides
Customize icon instances by applying size and color overrides. These overrides only affect the instance and do not update the main component. To apply overrides, edit the size of the icon or select the icon vector and choose a new fill color.
Pro tip: Select the nested vector shape in multiple icons by selecting all their frames and pressing "enter". This will update your selection to only the nested children (vectors), and allow you to bulk edit color.
Use icons as atoms
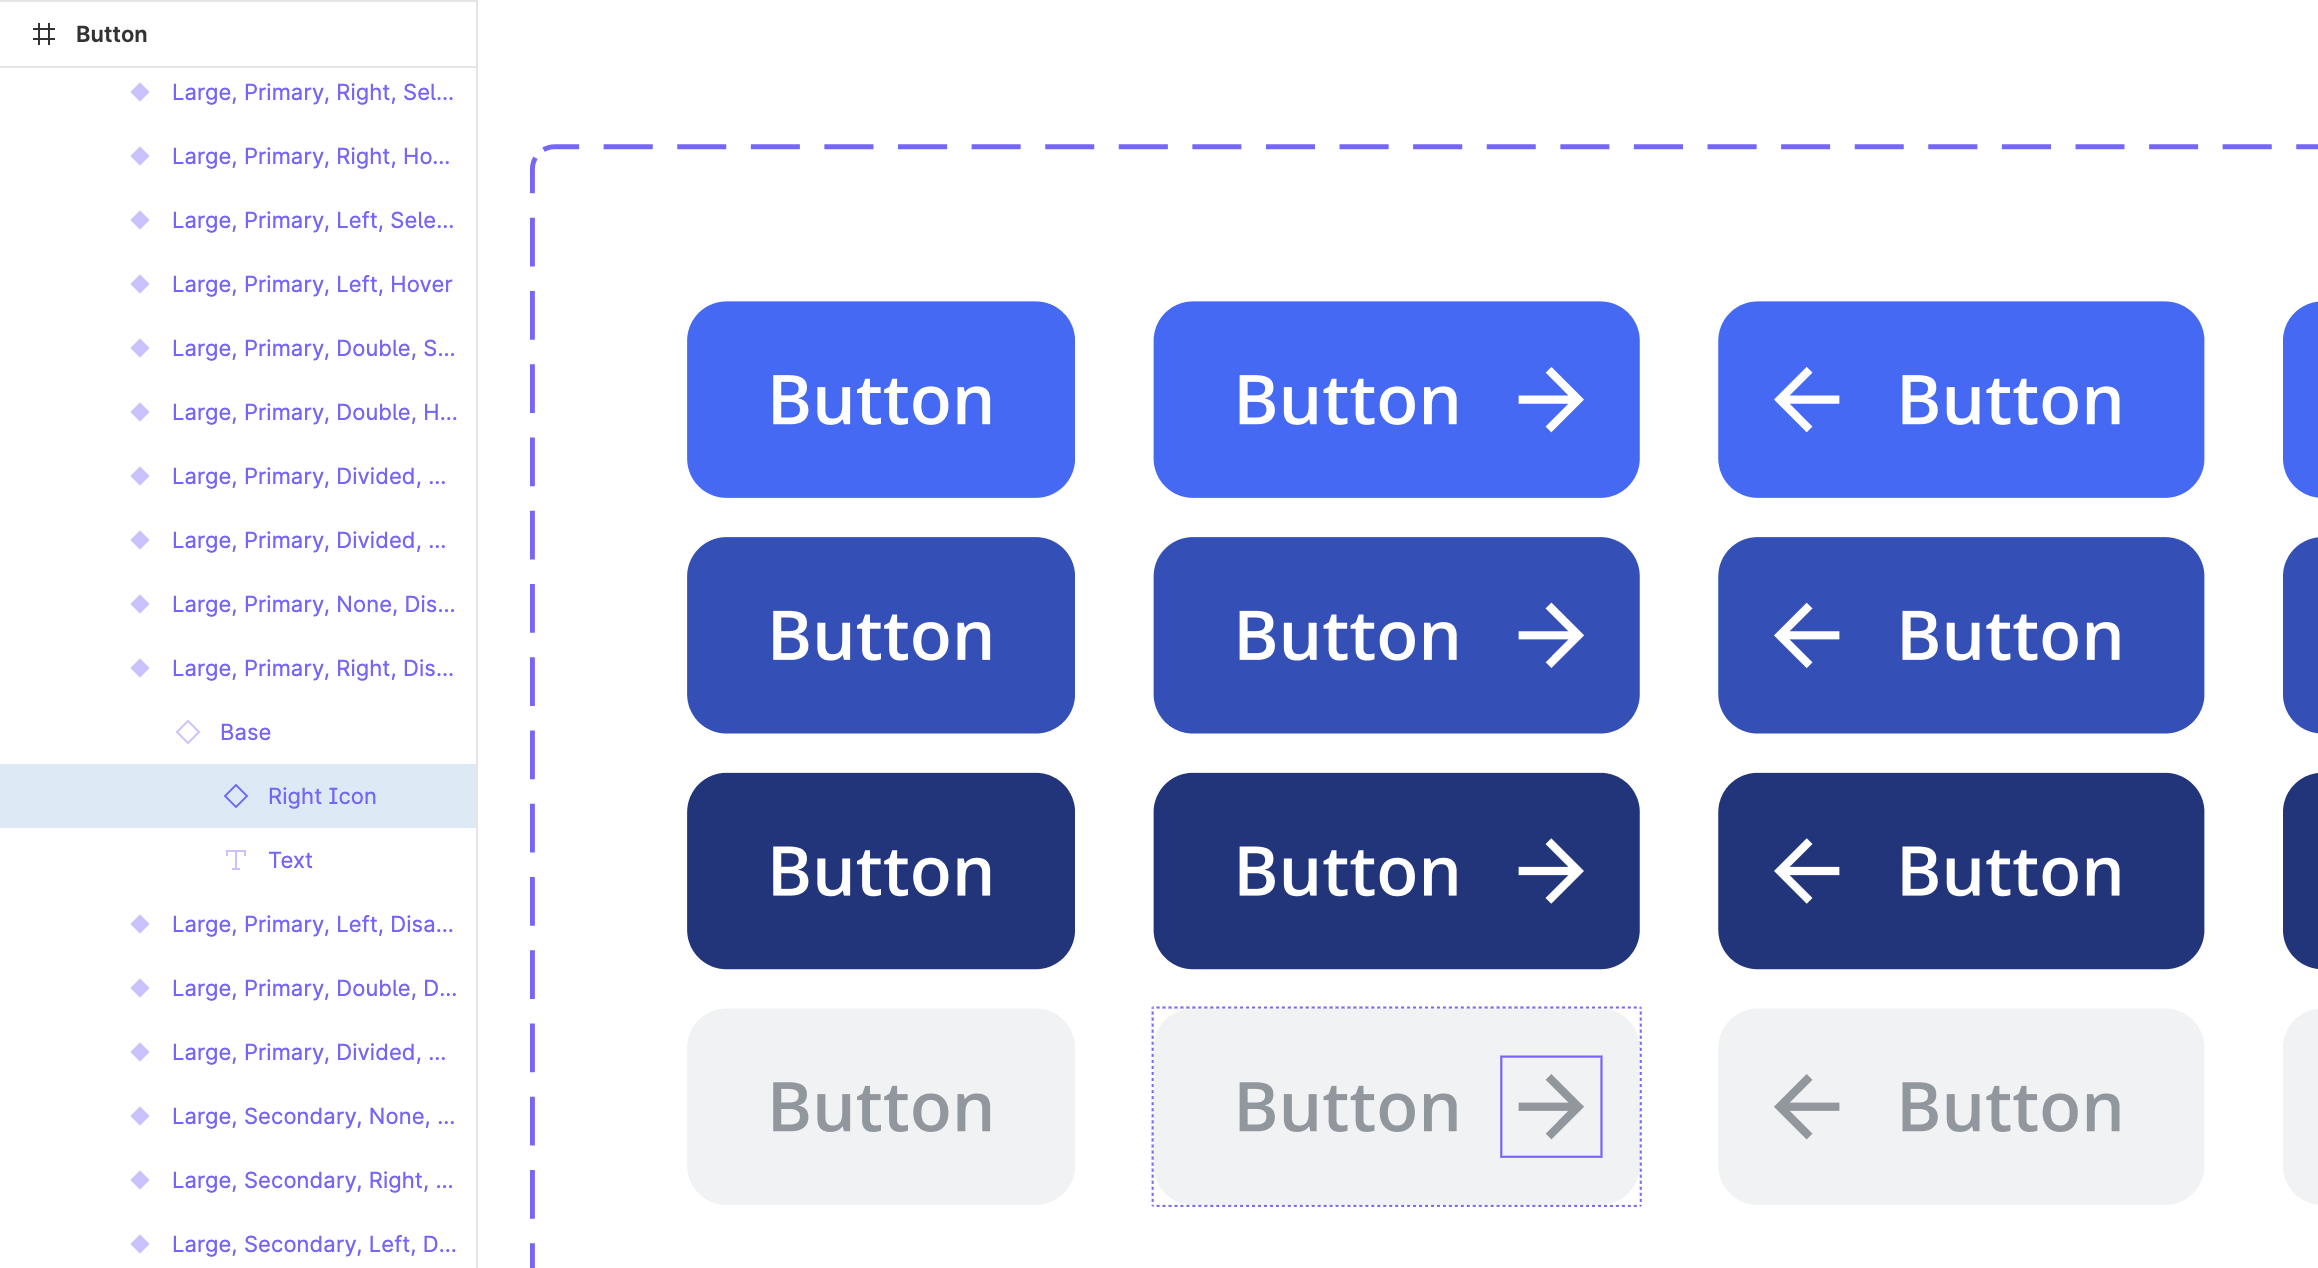
Use icons as atoms and nest them inside of other, more complex components. For example, nest an arrow icon inside of a button.
Pro tip: Give every nested icon a generic name. This way overrides will persist when swapping/configuring components in your designs. For example, name every right icon "Right Icon" in each button variant. When you change the state of a customized button, the icon type persists, and the color updates accordingly.
Developer handoff
When it's time to handoff the designs, developers can inspect and export icons as needed from the Figma file. To make things even easier for them prepare the icon assets in advance. This can be done by exporting all the icons, creating a spritesheet, or using an icon font (most recommended).
Export icons
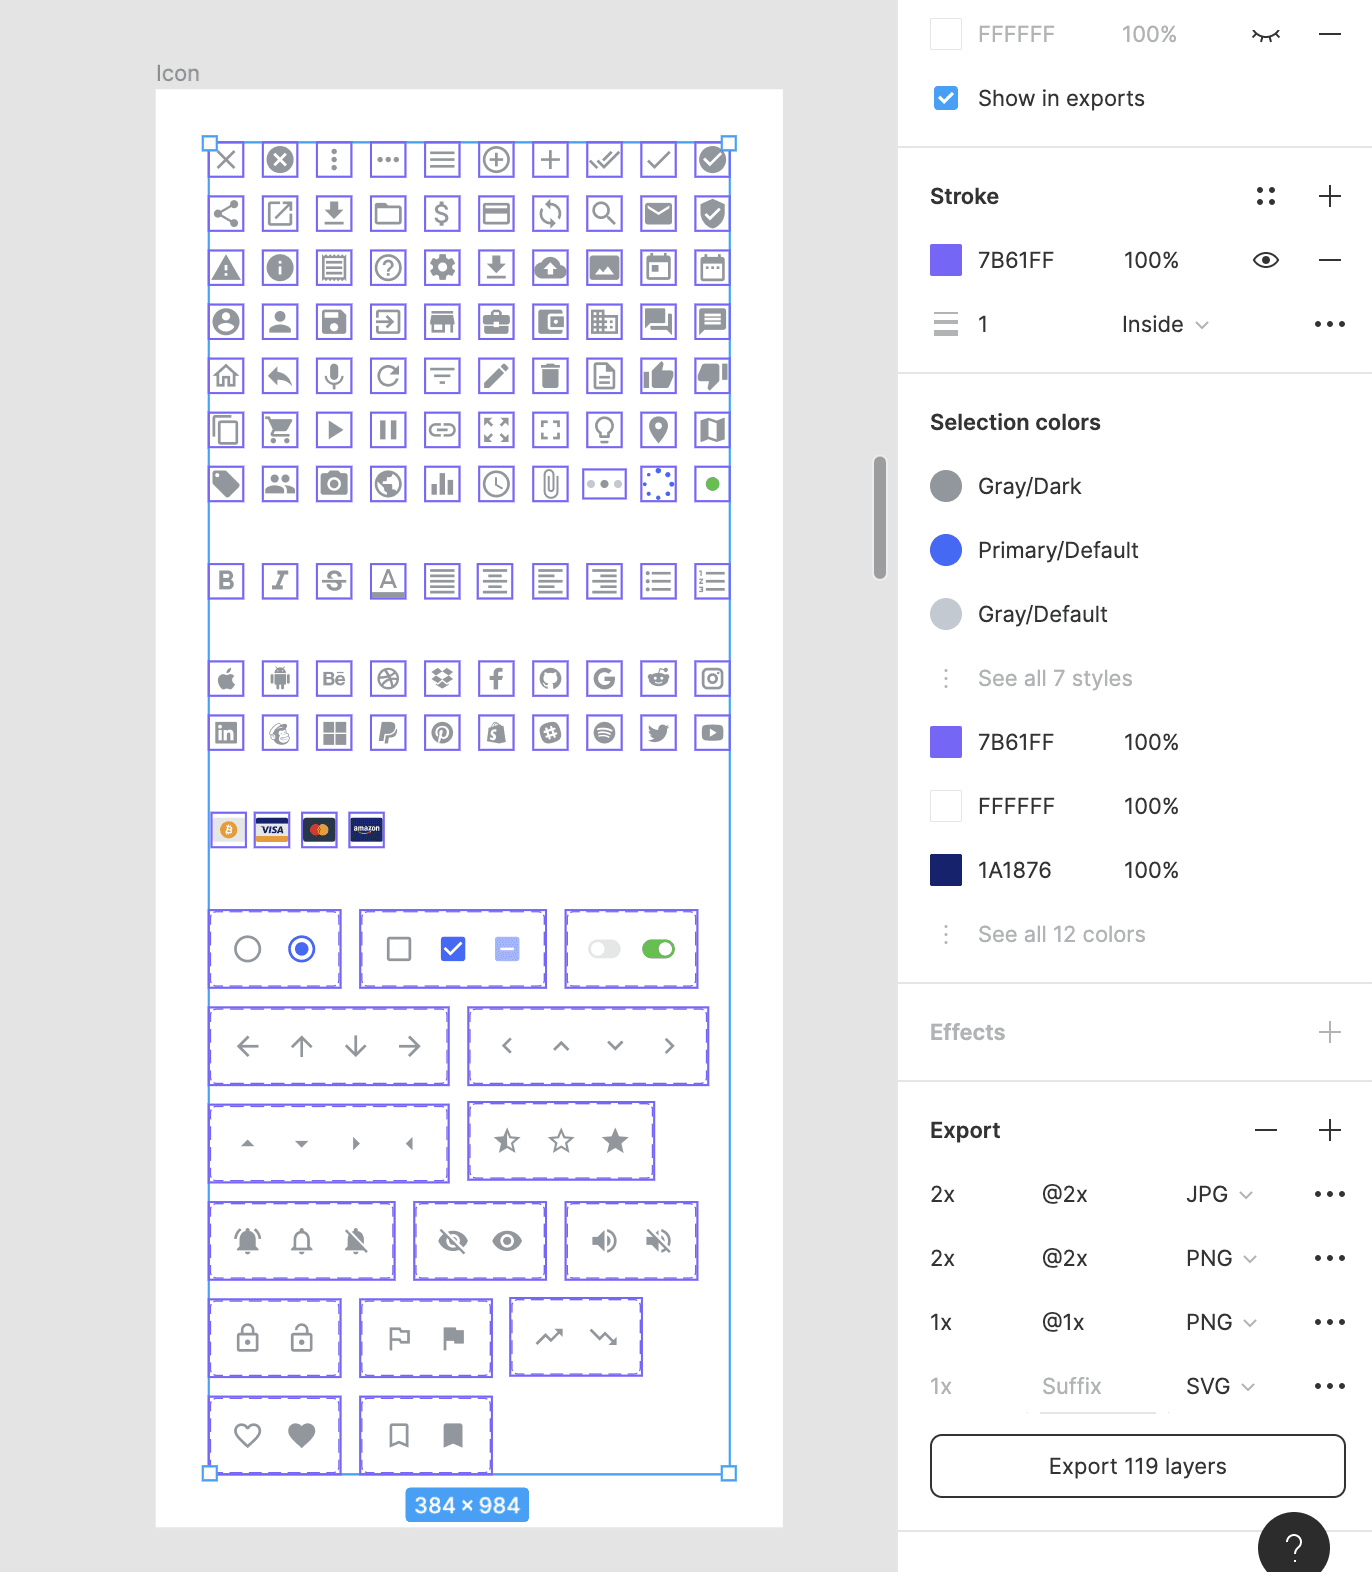
Export icons as an SVG, PNG, or JPEG. To export icons, select each of their frames and click the "+" symbol next to "Export" in the Design Panel. Then choose your preferred format and select "Export X layers". Select the "+" symbol multiple times to export multiple different formats at once.
SVG is an XML-based vector graphic. It allows exports to have a transparent background and scale up/down without any loss of quality. SVGs can also be represented in scripts or code, making them the best choice for the web.
PNG is a lossless bitmap format. It allows the export to have a transparent background and maintain high quality when compressed. This is the next best choice for the web.
JPEG is a lossy compression of an image. It cannot have a transparent background and its dimensions are fixed making the quality lower. For this reason, it is not recommended for the web.
Spritesheet
Use an icon spritesheet if using multiple icons without an icon font for faster loading time. A spritesheet is a single image that includes all the icons in use with specific X and Y positions. These positions are then used to display the correct icon in the correct place.
Icon font
Using an icon font is the most recommended way to use icons. They take advantage of the typographic rendering capabilities of modern browsers. This allows developers to incorporate icons with only a few lines of code. It is easier, takes up less space, and looks great. When choosing an icon library, look for one with a supported icon font (see list above).

Learn by doing
Now it's your turn. Check out our Figma Freebies for hands-on learning. Each one uses all the icon best practices described above. Practice customizing, overriding, nesting, and swapping the icons.
Want more design insights like this?
See our full catalog of articles covering Figma tips and Design System best practices.